Selasa, 31 Juli 2012

How to Upholster Bench Corners


Remember the not-so-vintage bench I was going to reupholster in the spotted leather? I finished it before we went on vacation. I used my favorite corner method and thought I'd share. It's an easy approach.
First I laid out the hide to figure out the pattern placement.


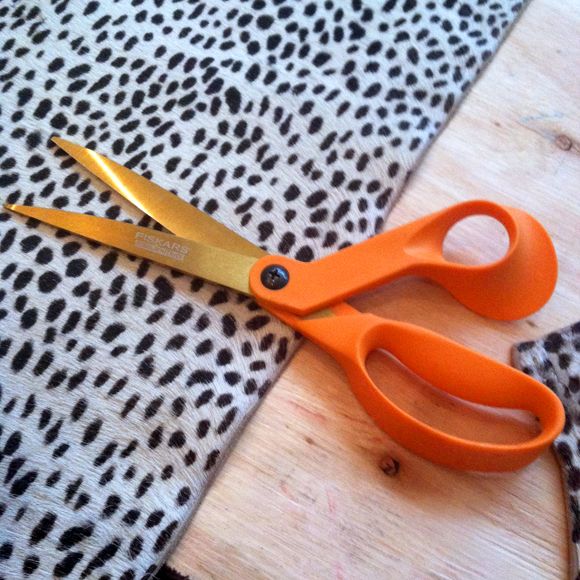
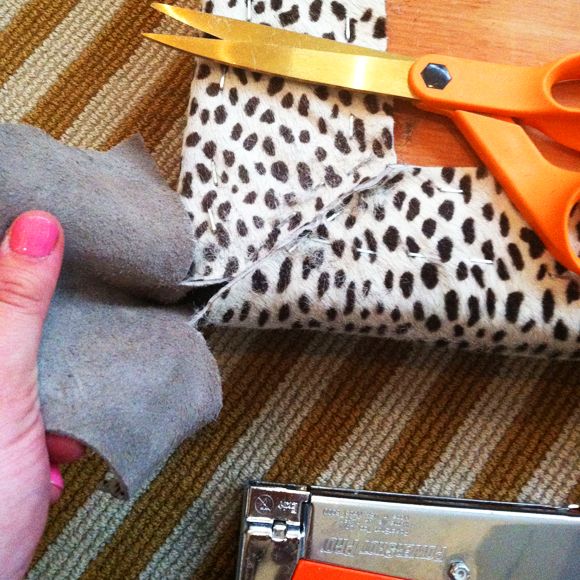
I used these new AMAZING heavy-duty scissors to cut the edges of the piece and make a clean, straight edge.


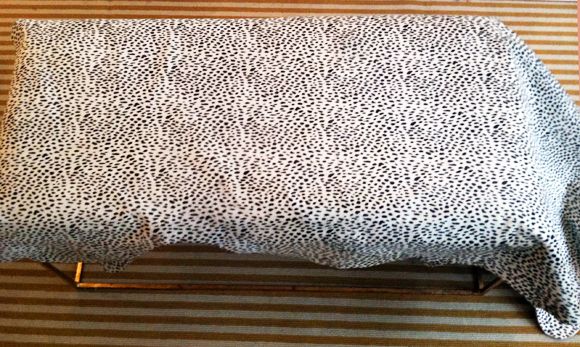
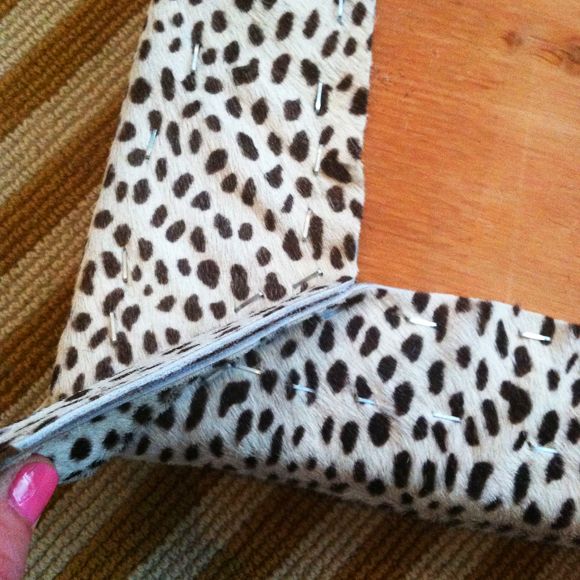
You want about three inches of overhang with bench tops or drop seats for chairs. It's enough fabric for you to be able to pull nice and tight, but there won't be leftovers peeking out from underneath.


I like to stagger staples in two lines, one about an inch set in from the edge and the second line running along the inside edge of the fabric.

Once all four edges have been stapled (don't forget to pull very tight!), it's time to tackle the corners. There are a few different ways to approach corners, but this way there are almost no folds or bunching (which is tricky especially with thicker fabric and leathers).
You just bring the fabric or leather together in the corner and run staples in lines on either side of the fabric, at a 45 degree angle. Leave about an inch or so loose without staples near the outside edge of the corner.
Using heavy duty scissors, cut the fabric or leather very close to the staples, but stop cutting right at the corner.

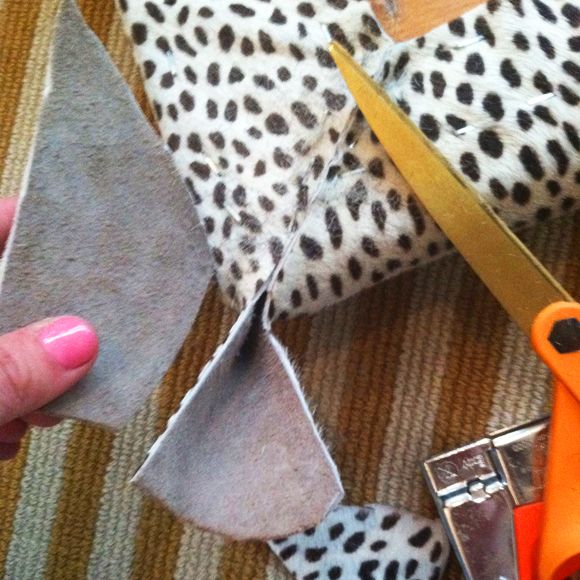
Then trim the edges down so that the flap still connected to the corner is about two inches wide.

Then pull the flap very tight and lay it down and staple it on top of the other staples you put in at a 45 degree angle.

If you have been pulling tight the whole time, the flap will lay very flat and the corner will be very smooth and professional looking.


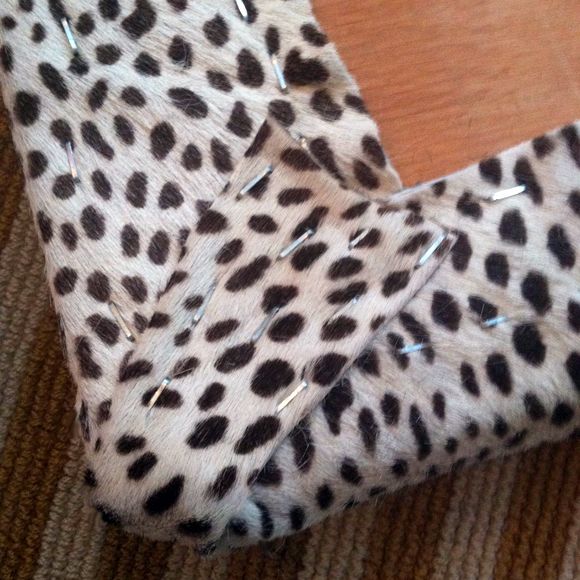
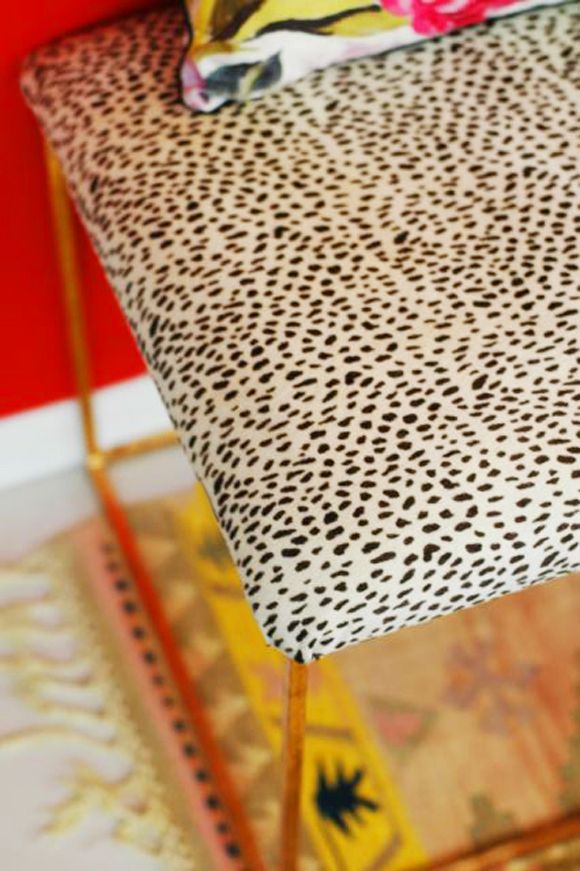
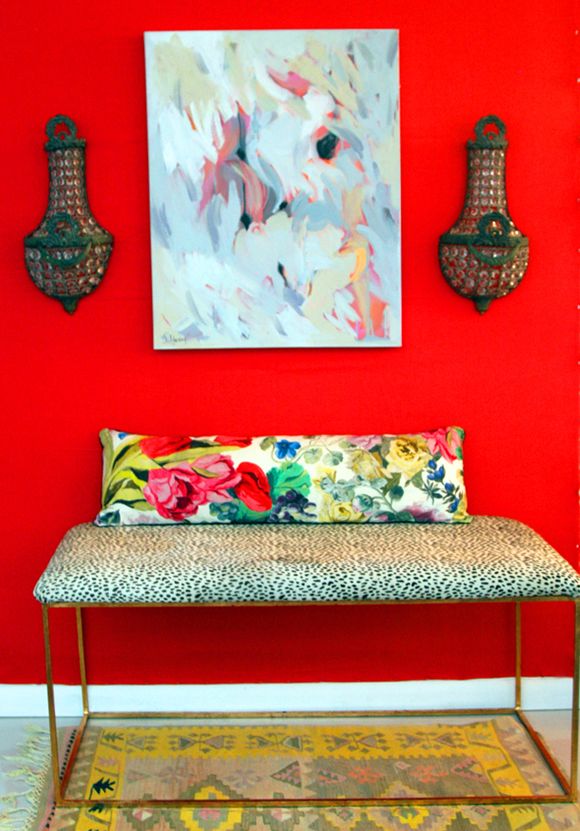
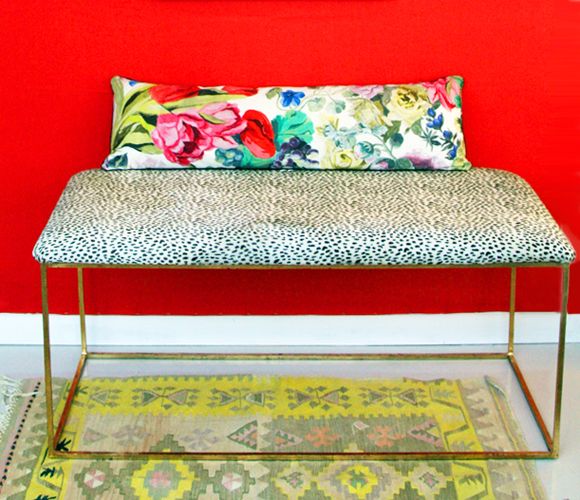
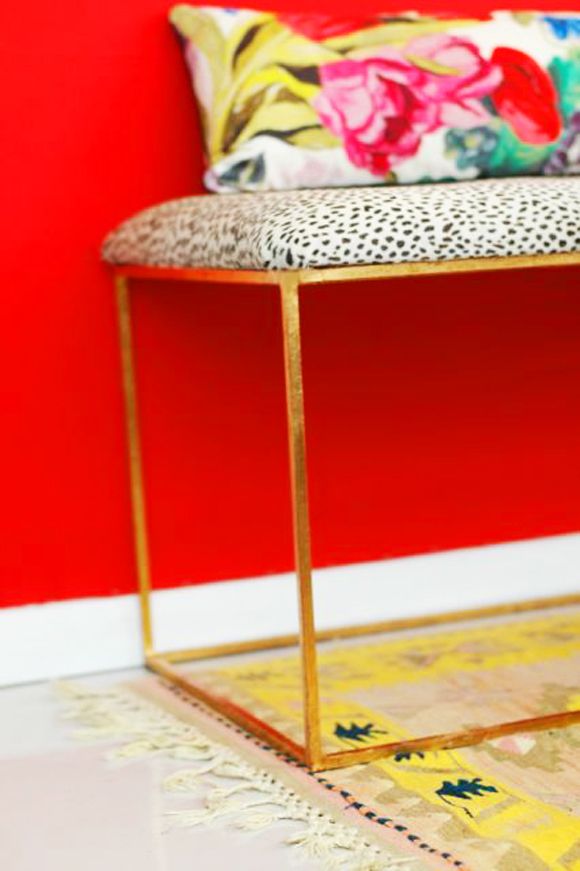
All finished! I love this spotted hide so much more than the taupe velvet.


See just the two tiny folds on either side of the corner? If I had just pulled and stapled around the corners like most upholstery jobs call for, there would be all sorts of bunching and really heavy-looking corners. This method makes the fabric lay almost as flat as sewing the corners (which is a pain to me).

PS The winner for the Jessie Mackay painting give away was chosen and she was emailed, so please check your inboxes! As soon as I hear back from her I'll update the post. Thanks for entering!

Senin, 30 Juli 2012

 things going on around our house:
 make this....it's good...real good.
first key lime pie i've ever made.  super easy....but i have never made real whip cream before so i had to you tube how to do it....there's a technique, just in case you didn't know either :)

 new construction project i'm currently working on at sullivan's island...
gorgeous marsh view from another project i'm helping w/ on sullivan's island
 summer has been a lot of family time, soaking up the sun.....
and last but not least, today is my mom's b'day so we want to send her a shout out....i hope you have a fabulous b'day mom; we love you!!!

Copy Cat Design: Caitlin Wilson's Dining Room

Colleen is on fire - I love seeing what she is up to on There Comes A Yes. Also, did you hear that she is now the head graphic designer for Lonny? She is so talented and I feel really lucky that she works with me! She's joining us today with a copy cat version of a room designed by another lovely friend, Caitlin Wilson. Here's Colleen:


I really love Caitlin Wilson's dining room in the July issue of Matchbook. It's a pretty mix of traditional and feminine pieces!


It's pink, but the shape isn't overtly girly, so it works well in a dining room.

A fresh, light wash of blue on the walls enhances the navies and pinks.

Chintz makes me happy. That's all.

A very traditional and formal chandelier--it's best paired with a mix of furniture styles.

To stuff with hydrangeas, of course.

Dress up a run-of-the-mill buffet with glam lucite knobs.

A basic sideboard perfect for customization.

Scour church garage sales, thrift stores, and fleas for a framed oil painting--you'll get the best deal!

Rarely can you go wrong with a vintage dining set. If you're searching Ebay or Craigslist, try adding "regency" to your search terms.

To get that Regency look, search for high back chairs and caning.

Upholster the dining chairs in a navy and white/cream stripe!

Use wing back chairs as host chairs--it breaks up the matchy-matchy look of a dining set.

Tie the room together perfectly with this floral fabric.

Kamis, 26 Juli 2012


for the past week, i have woken up to an addition in my bed....my 5 yrs old creeps in around 4:00 AM and then proceeds to want to talk, ask for water, and toss and turn for what seems like hours afterwards.  today, it's taken its toll b/c i cannot seem to wake up.....

Rabu, 25 Juli 2012

Making Curtains Out of Drop Cloths

Using canvas drop cloths from the hardware store is a super economical way to make thick, light-filtering curtains. There is magic happening in the interwebs, and all sorts of creative bloggers have come up with great methods for jazzing up the panels - paint, dye, trim, you name it.


Check out a lovely assortment of links and ideas for drop cloths HERE on my latest post for the Better Homes and Gardens blog.

images via BHG

PS Remember this project we used drop cloths for? 

Selasa, 24 Juli 2012

Upholstered Chair Legs

Right before we left to go out of town, I stopped into one of my favorite stores, Canvas, to pick up some glassware for a shoot. While I was there I fell in love with this petite wingback chair.


We need a pair of very narrow armchairs in the brownstone. I'm planning to use these bergeres right now, but there's a chance they'll be just a hair too wide and not nearly deep enough for the long living room (we'll just have to see once we get in there next week). But these narrow and deep armchairs from Canvas just might be perfect for the space. (and how pretty would bright red pillows be on the blush pink linen?!)


The price on these is not that great, but maybe I could find something vintage with similar proportions? I think I'm mostly just crazy for the upholstered legs! What a great look (and something I could totally DIY).


very well said Liz :)

*images courtesy of quietly living, xxxxxx, live.like.you, houzz

Senin, 23 Juli 2012

Gray's Rock Shop


This weekend my brothers and sisters and their families have been together at my parent's home in Snowflake, Arizona. After we were all burnt out from the lake, we decided to take a little day trip to Gray's Rock Shop in Holbrook near the Petrified Wood Forest. It was the coolest place, full of the most incredible gems and rocks. Mother Nature really knows how to put together a color palette!


I loved these crystals that looked like a cityscape.


Wearstler-esque petrified wood stump chair and gorgeous mollusk fossils.


The shop had the most beautiful agate all over the place. This little bowl was full of pieces already banded in gold and ready for stringing on a chain.


I wanted these petrified wood bookends so, so bad!


Malachite boxes and trinkets were everywhere!


They also had an awesome selection of brass and acrylic pieces for displaying your rocks. I liked these petal-shaped ones.


The girls helped me pick out this pretty piece of petrified wood and the minty green crystal to take home with us to NYC next week. I'm so crazy about the colors! And aren't the brass and acrylic stands great?  It will be fun to have little souvenirs of this trip and reminders of our old home in our new home.

PS Did you know petrified wood is estimated to be between 50 and 200 million years old! Amazing.