Senin, 28 September 2015

Xerographica, My New BFF

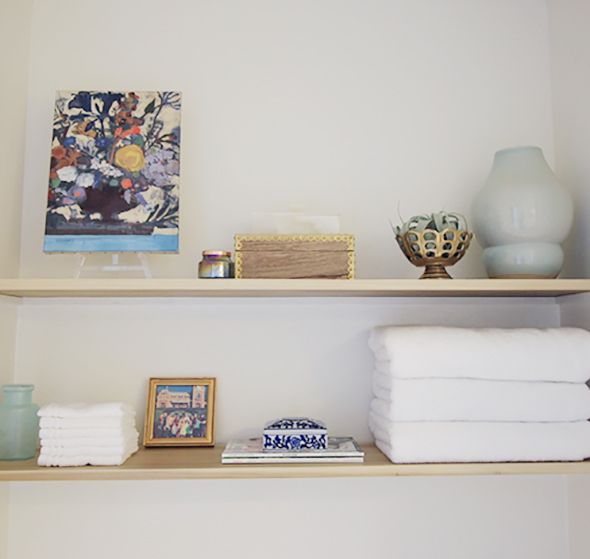
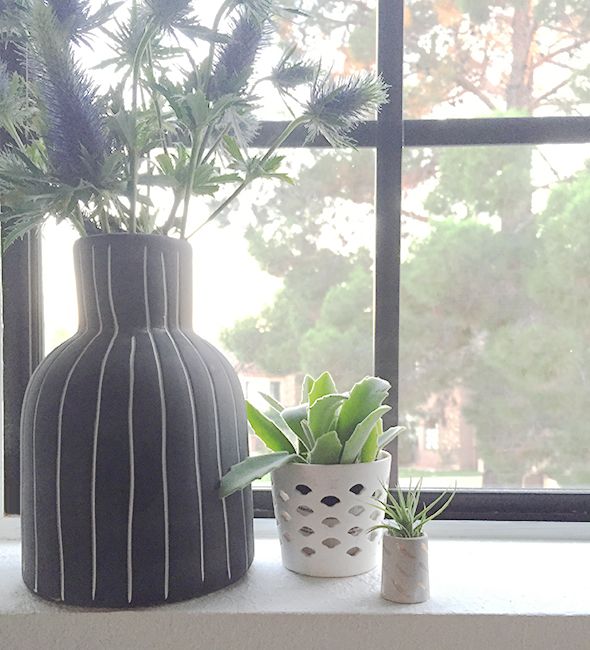
I don't have the greenest thumb, so I try to stick with house plants that are very forgiving. I've discovered the easiest plant to care for of all is a Xerographica, or an air plant. They need only a little water once or twice a month and THEY DON'T NEED TO BE PLANTED! You can pick them up out of their container and move them to another spot or vessel without any mess. They're basically the perfect plant for styling, especially with their soft sagey curly stems! So pretty! I bought a couple for my mom's house and we put one in her kitchen and another in her guest bath

 photo IMG_0062.jpg

 photo IMG_0011.jpg

 photo IMG_9503.jpg

I like the ease of putting air plants in pretty little containers best, but there are some really cool ideas out there for displaying air plants in unique ways.


There are so many things to love about these plants - gorgeous, easy to care for, last forever, etc - but the icing on the cake is they are super cheap if you buy them at the right places! The teeny tiny ones cost almost nothing:

 photo IMG_3253.jpg

They grow fast, so don't worry too much about paying for the bigger-sized plants at West Elm (which usually run $20-25 each), just grab a few of these inexpensive ones and bunch them together as they grow.

1 - 5 for $13  //  2 - Starter kit for $32  //  3 - 5 for $9  //  

Have you ventured into the world of air plants yet? I'd love to see how you're using them!

Selasa, 22 September 2015

Five More Minutes - Hosting an Awards Show Party


Do you know what the best kind of party is? An awards-show-watching party! You get to spend a few hours with your favorite people AND there is built-in entertainment, and of course lots of lounging....and eating. :)

 photo IMG_1920.jpg

We had a couple of friends over to watch the Emmy's this weekend and I wanted to spruce things up a little in our family room beforehand. I swung into Target on Saturday to shop their new *AMAZING* fall line, which I'm sure you've seen all over social media. It's good, guys. Real good. I think it only takes a few key additions - and just about five minutes of effort - to make your home party-worthy! Here are my best party-prep tips:

 photo IMG_2150.jpg

Tip #1: Splurge on fresh flowers

 photo IMG_1912.jpg

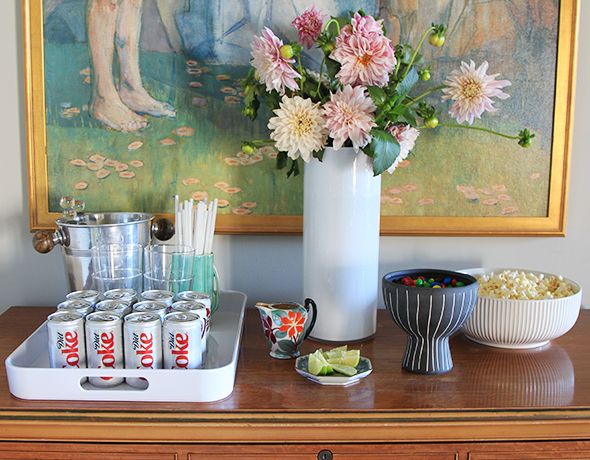
I grabbed some Dahlias for this big, tall white vase (on clearance!) and thistles (for this amazing vessel) on Friday and they make me SO happy. 

Michael teases me that I like to have people over just so I can go buy flowers guilt-free. It's definitely only like 50% true though. I just know that whenever I am at a party at a friend's house, it's such a sweet surprise to see fresh flowers out! You know what I mean? It's definitely not necessary, but it's a very nice gesture, I think.

 photo IMG_1973.jpg

Tip #2: Set up a refreshment station


Let's be real. Parties are mostly just a great excuse to eat delicious snacks, right? I wanted to keep it simple for us with this little refreshment station on our tiger wood chest right in our living room. This way no one had to venture into the kitchen for a refresh and potentially miss some especially juicy red carpet moment or Andy Samberg joke. I put out the mixings for Dirty Diet Coke (add pebble ice, a little coconut syrup, a dash of heavy cream and lime wedge or two) and a couple big bowls of homemade kettle corn (a new family favorite). It's so easy to make it on the stove and it tastes SO much better than microwave popcorn.

 photo IMG_1914.jpg

I heat up a few tablespoons of coconut oil in a big lidded pot with three kernels in the oil. As soon as the oil is hot enough to pop all three of the test kernels, I add a half cup of popcorn kernels and a quarter cup of sugar, and shake the pan until the popping starts to slow down. Add a little salt, and you'll never go back to microwave popcorn again! This big, wide bowl is gorgeous and perfect for serving your sweet/salty masterpiece. And of course, a handful of peanut butter M&Ms makes life worth living, especially when served in such a pretty footed bowl!

 photo IMG_2041.jpg

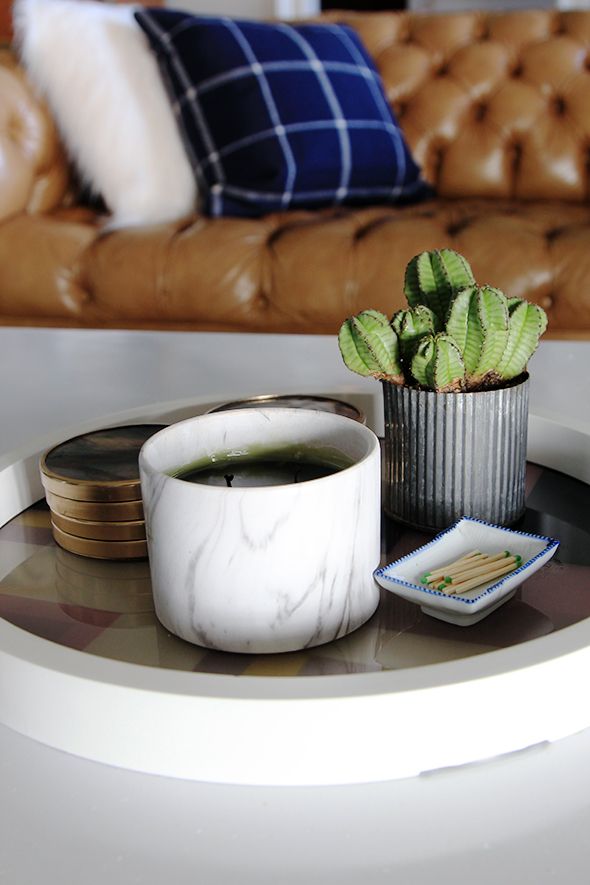
Tip #3: Burn your best candles

 photo IMG_2009.jpg
marble candle  //  tray

I'll admit it. I am a recovering candle hoarder. In the past I've had a tendency to buy a special candle only to tuck it away in the cleaning closet, never to be burned or enjoyed. That was the old Jenny though! Now there is no candle safe when I'm around. Light 'em up! Breathe in deep the sweet scents!


Tip #4: Keep your guests comfortable with extra pillows and foot stools!

 photo IMG_1956.jpg

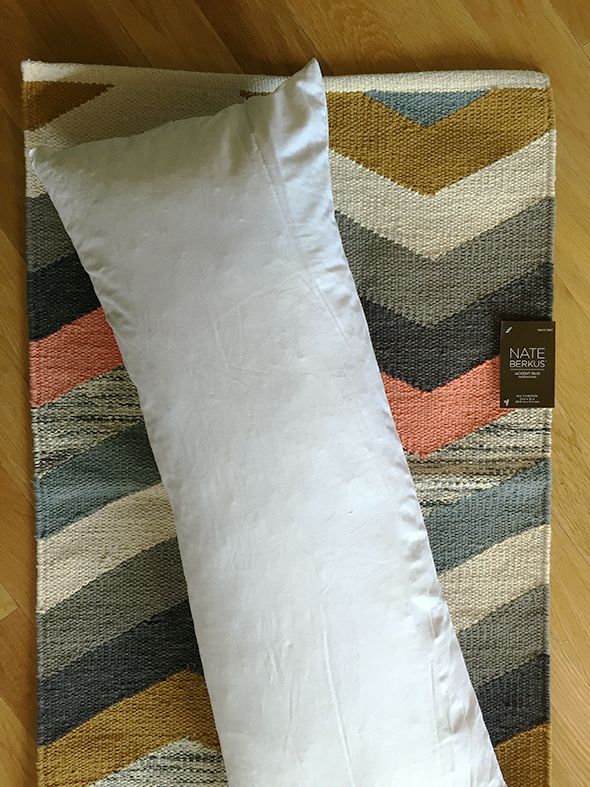
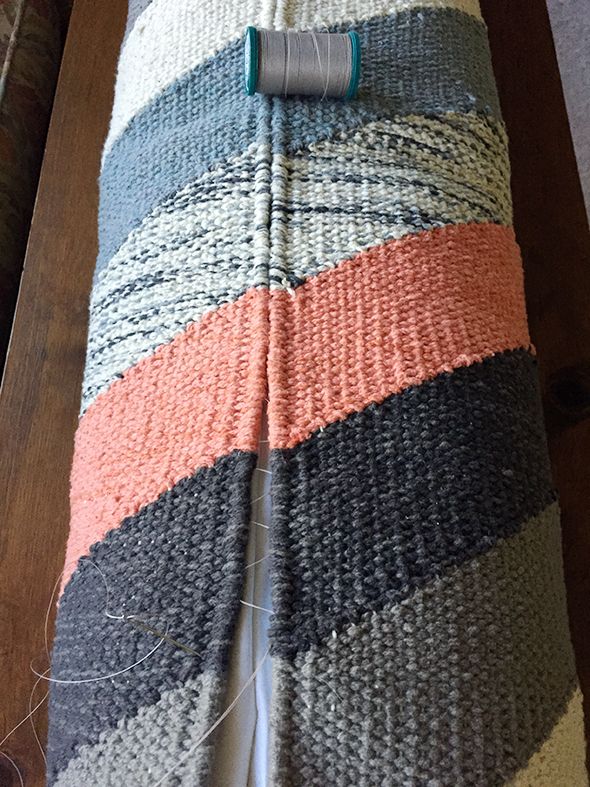
I really wanted a new bolster pillow for the blue velvet sofa so I whip-stitched together this adorable Nate Berkus throw rug to make a long pillow. It was the perfect size for an insert I already had on hand.

 photo IMG_2925.jpg

 photo IMG_2574.jpg

I really love how the color looks in our living room!
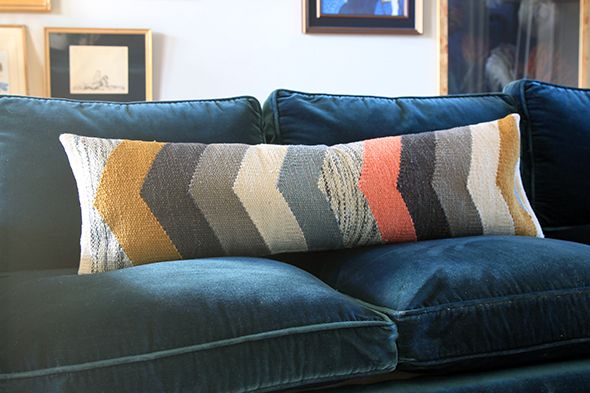
 photo IMG_1979.jpg

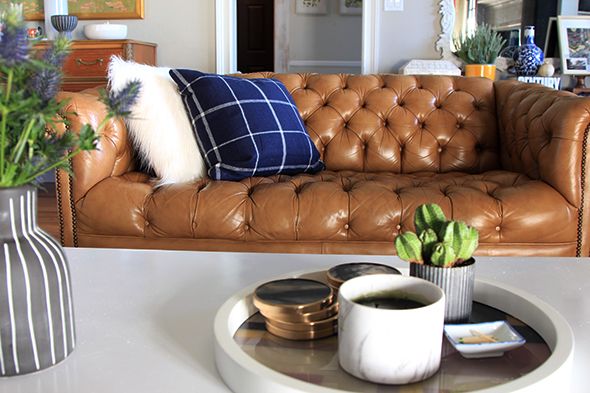
I also grabbed two new pillows for the chesterfield settee. A big part of me would love at least five of every thing in the new plaid line at Target, but for sure, I want to put these big, soft navy plaid pillows in every room in my house. They are so good! And I love how they pair with the faux fur pillow.

 photo IMG_2001.jpg

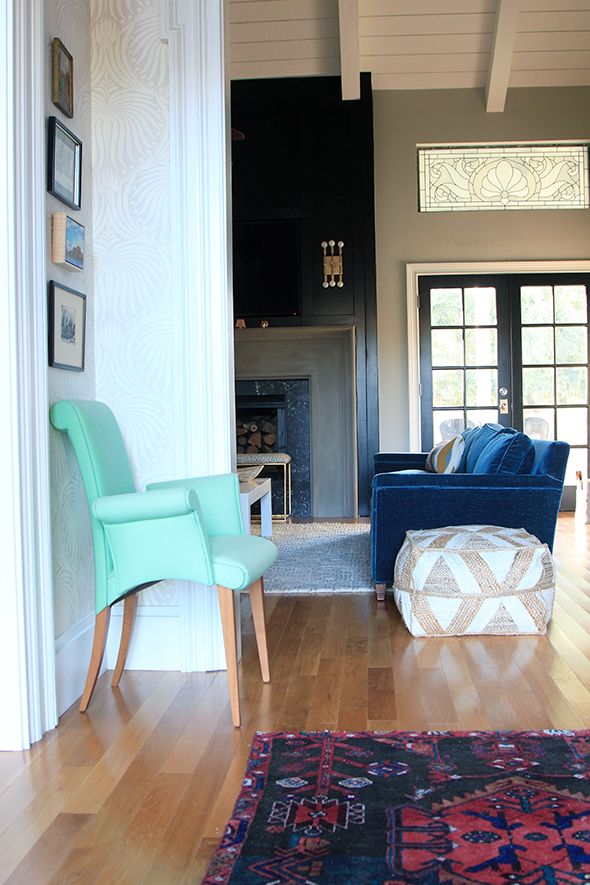
I always like to have little stools and ottomans floating around my living room. It's nice to have a place to comfortably put up your feet - or even an extra place to sit in a pinch. This adorable pouf was on clearance (they have it in black and natural too - so cool!).

 photo IMG_2109.jpg

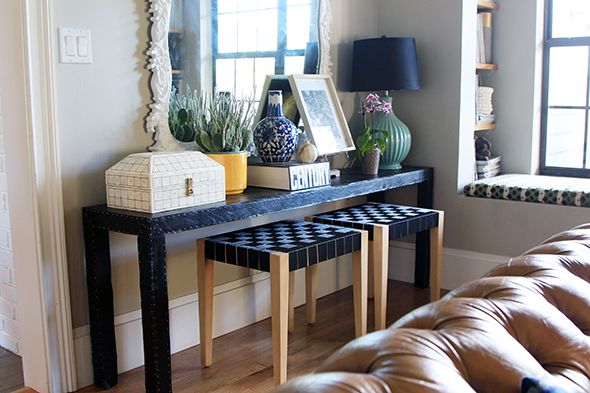
These little belt strap stools were on clearance too! I love the Jens Risom inspiration!

 photo IMG_2039.jpg

 photo IMG_2056.jpg

Tip #5: Free up some space on your coffee table

 photo IMG_2132.jpg

 photo IMG_2060.jpg

If you're like me, you keep your coffee table loaded with books and magazines and all sorts of other bits and baubles. A party is a good time to clear everything away and get back to the essentials so there's room for your guests to get comfortable and have a place to set down their drinks and snacks.

 photo IMG_2064.jpg

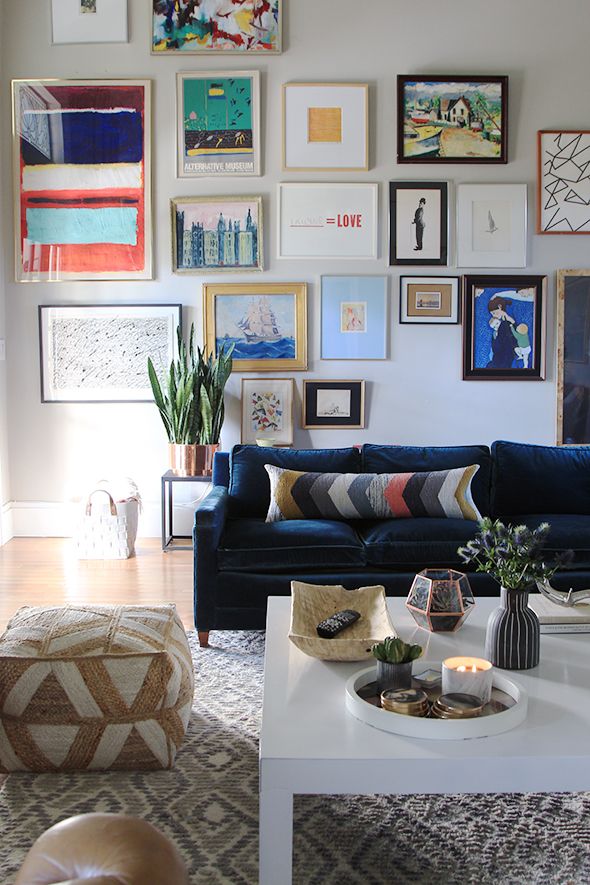
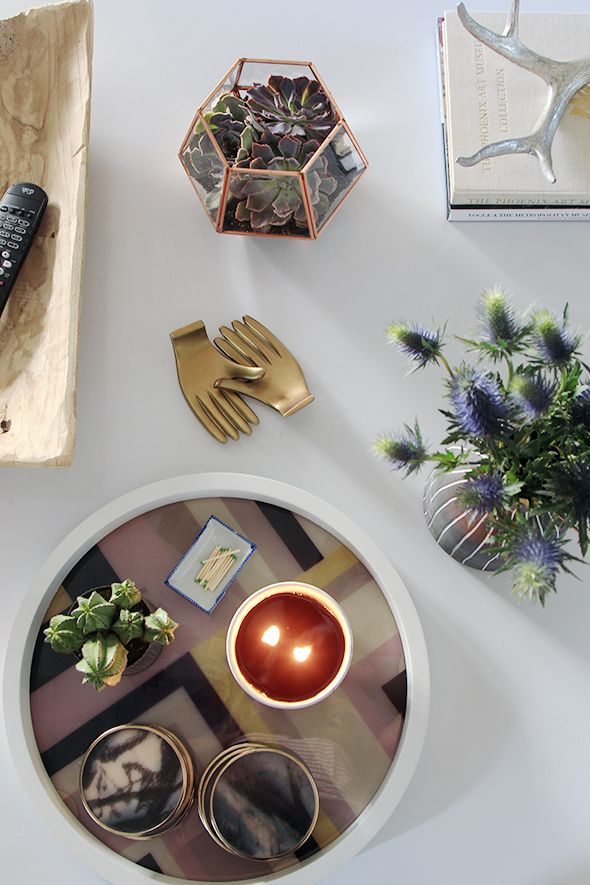
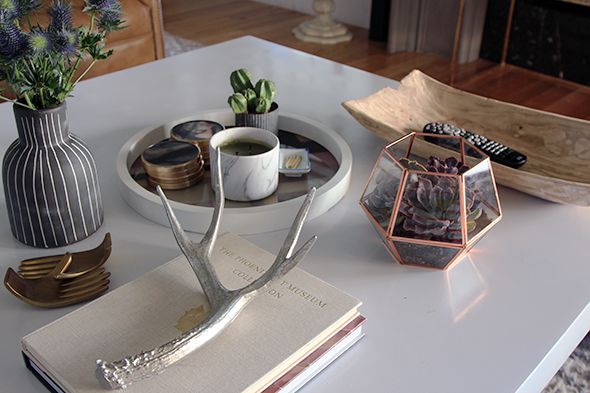
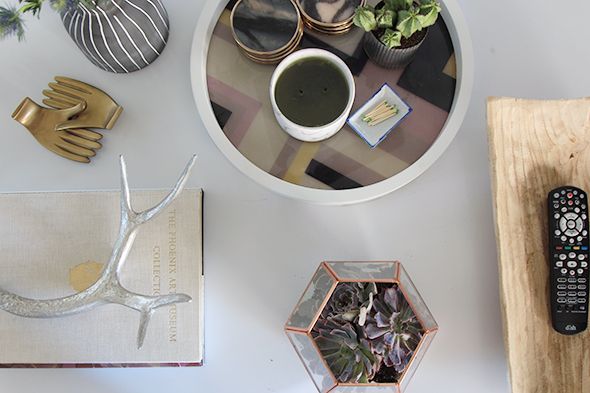
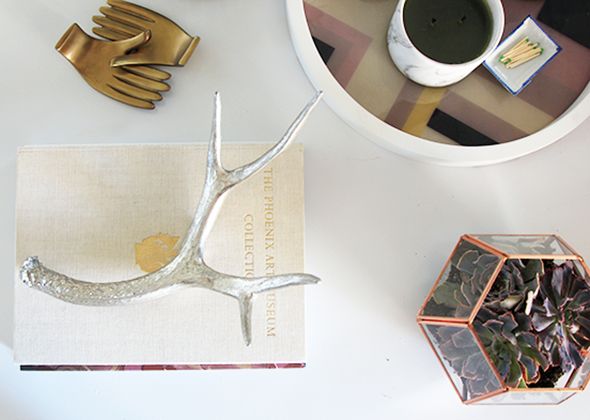
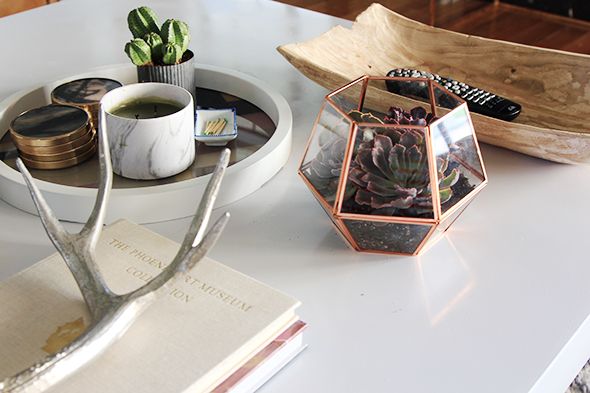
My coffee table is big, so my essentials included a beautiful wooden bowl to coral our remote, some emergency reading material (isn't that guilded antler sitting on top cool?), a tray with a candle and coasters, a couple little plants and a flower arrangement. That copper-faceted planter is pretty much my new favorite thing.

 photo IMG_2127.jpg

What TV-watching party tips do you have? We only have a few shows that we watch religiously and Last Man on Earth is one of them, for sure. It is snort-laugh funny! The season premiere is this coming weekend, so I might just have to throw another party now that my living room's all ready to go. :)

 photo IMG_1986.jpg

 photo IMG_1952.jpg

This post is brought to you by Target Style. Shop the new Home collection in stores and online.

Senin, 14 September 2015

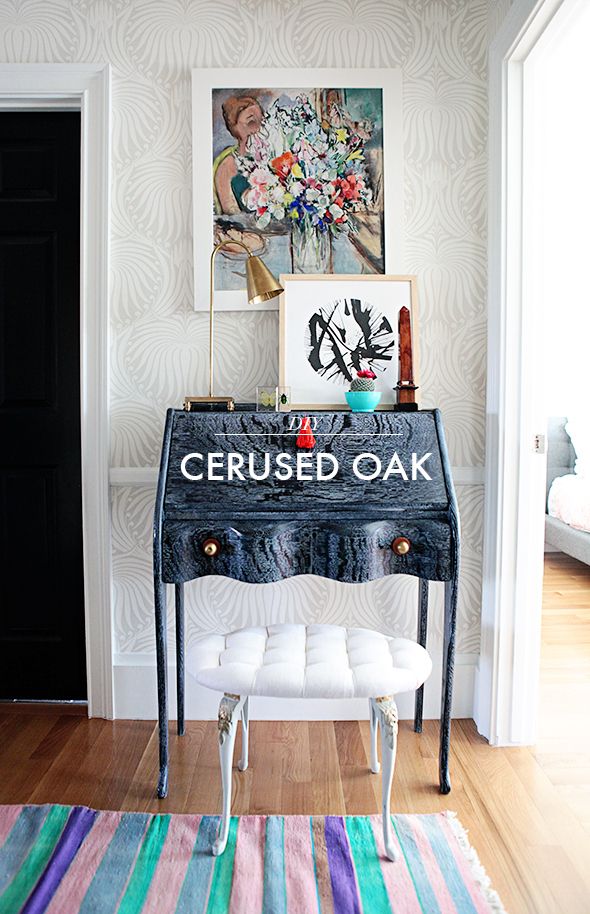
DIY Cerused Oak Secretary

 photo LGN DIY CERUSED OAK.jpg

The fall issue of Domino is on news stands now and my latest story is right after cover girl Mindy Kaling's (adorable!) office feature.

 photo IMG_2776.jpg

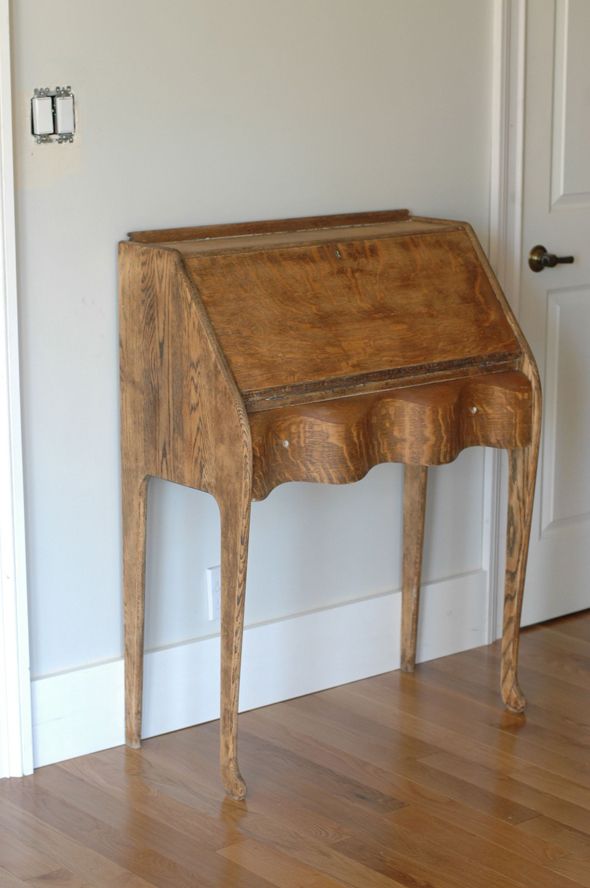
I was SO excited to get to share my transformation of this old tiger oak secretary. Remember this old thing?

 photo qqDSC_0550.jpg

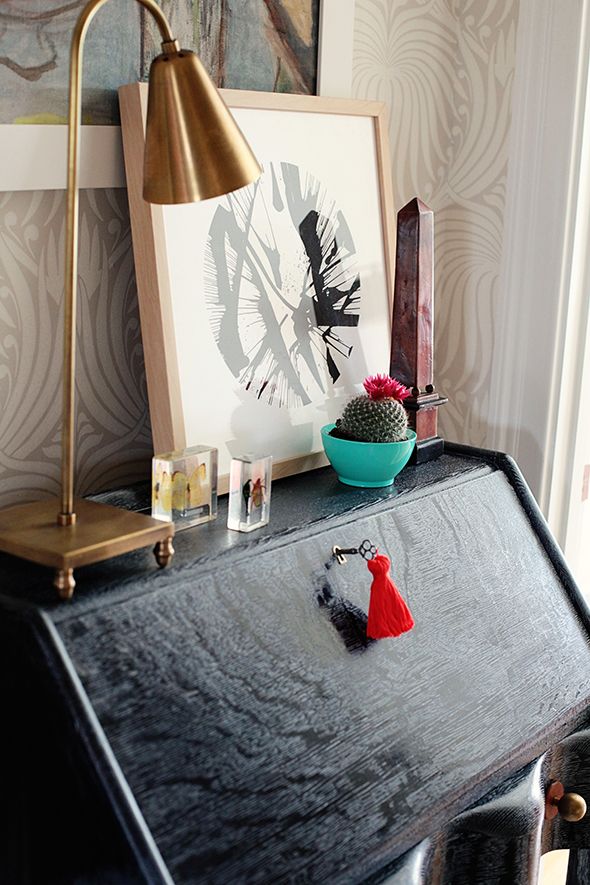
I had been debating whether or not to change the finish for a while, but after seeing this beautiful cerused side table on 1st Dibs, I knew I could achieve a similar finish with a little research and some elbow grease.

 photo 1083978_l copy.jpg

I read about a million different articles about cerusing and liming oak furniture. It turns out that people have been doing basically the same steps for hundreds and hundreds of years! It's not too hard to do and requires absolutely zero artistic ability. You'll just need a piece of oak furniture - it has to be oak. And the more prominent the grain, the better.

 photo 2 - Brass Brush.jpg

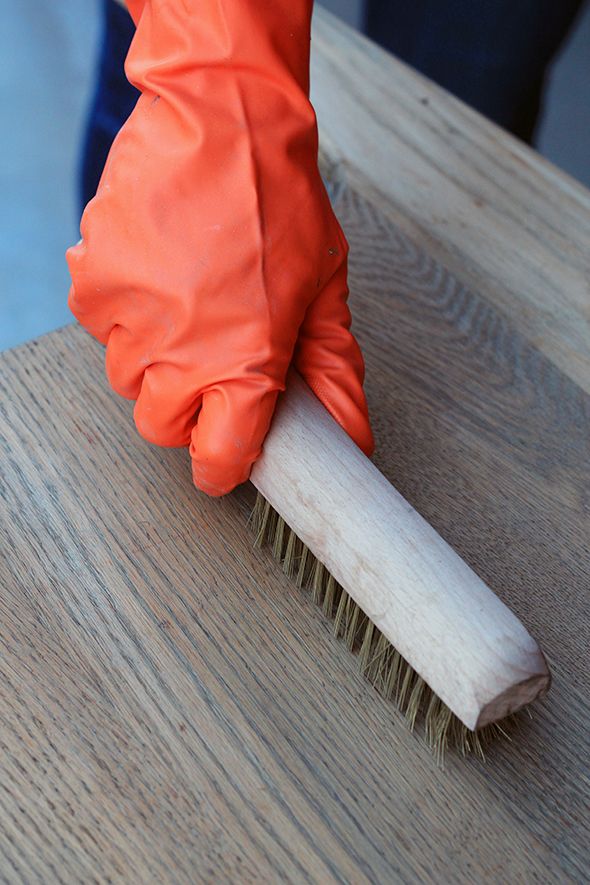
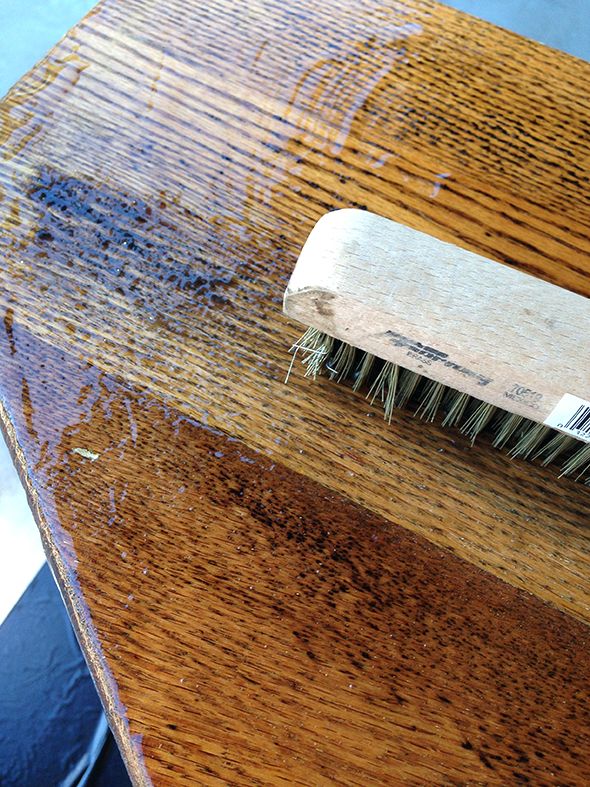
The first step is to strip the wood of any stains or varnish. I used a gel stripper and a brass-bristled brush to gently scrub the wood in the direction of the grain. See how the soft brass bristles pull out the little bits of old dark stain from the grain?

 photo IMG_9387.jpg

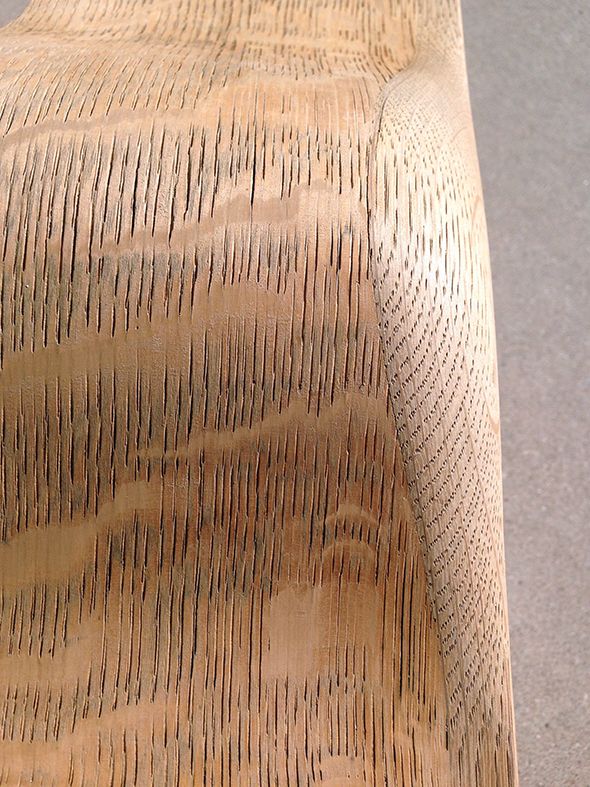
If you've done it right, the grain marks will be open and clean and ready to fill with wax.

 photo IMG_9380.jpg

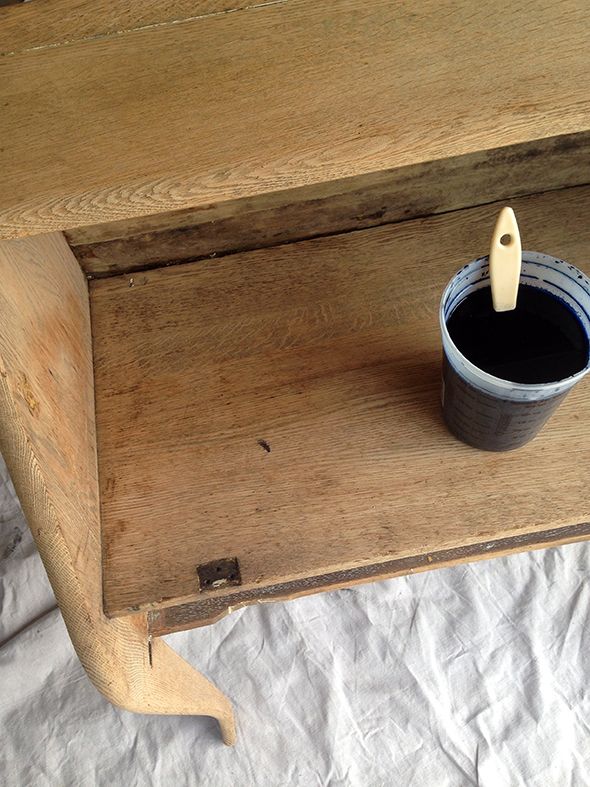
If you want the wood to be a natural finish, you can go ahead and skip this next step, but if you want the wood stained at all, you'll need to use an aniline dye in lieu of a traditional stain that you can get at the hardware store. Dye will beautifully stain the wood without filling any of the grain. You can buy almost any color of dye online. I used the indigo shade for this project.
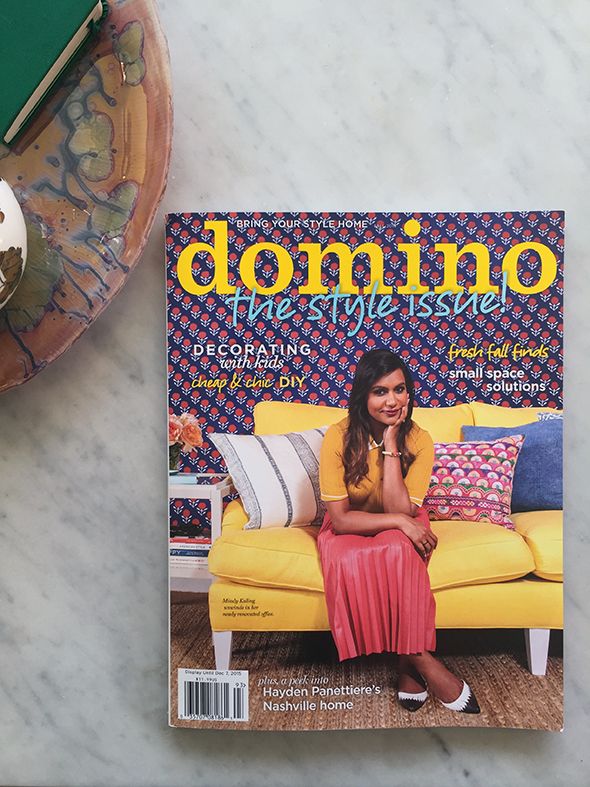
 photo IMG_9434.jpg

I just followed the instructions on the dye container and mixed a few teaspoons of the powder with some denatured alcohol before brushing it on the secretary.

 photo IMG_9421.jpg

 photo IMG_9439.jpg

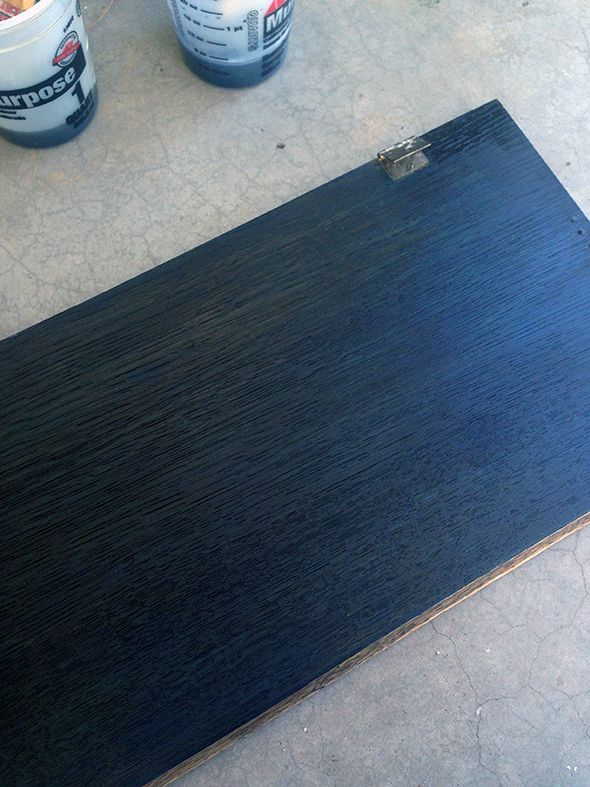
It only takes a coat or two of the dye mixture to get a nice, deep color.

 photo IMG_9343.jpg

 photo IMG_9394.jpg

As the stain starts to dry on the wood, it gets lighter and sort of chalky. But the color deepens again when you seal it. I don't have a photo of this step but it's important to seal it with shellac before adding the liming wax. I like Zinsser's shellac because it dries quickly and isn't too thick.

 photo IMG_9397.jpg

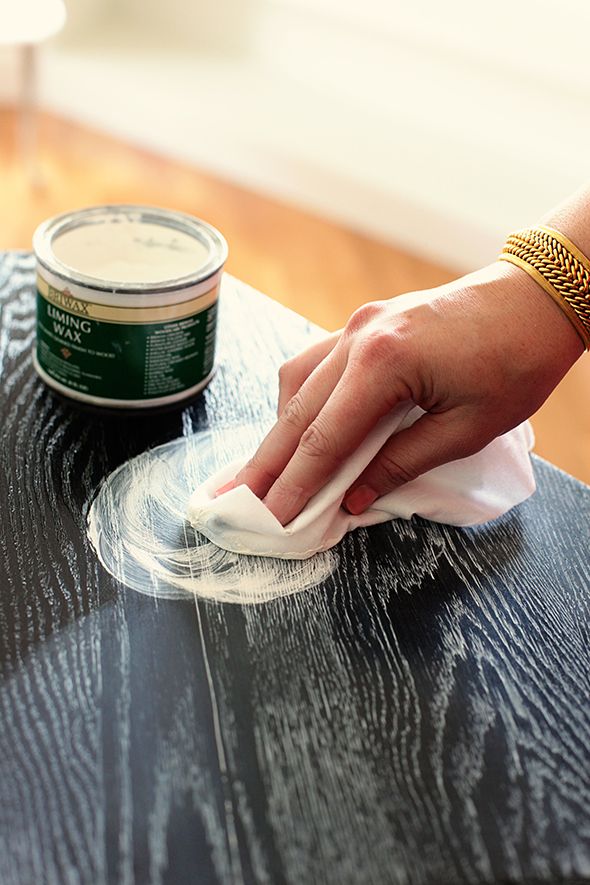
After the shellac dries, the dyed wood will be a dark navy indigo color, and you'll be ready for liming wax. This wax is my favorite.
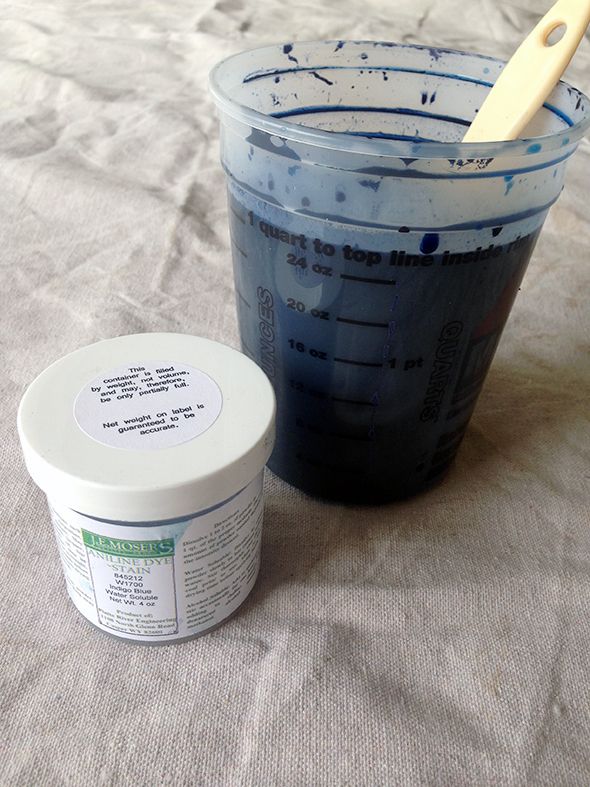
 photo Jenny 14.jpg

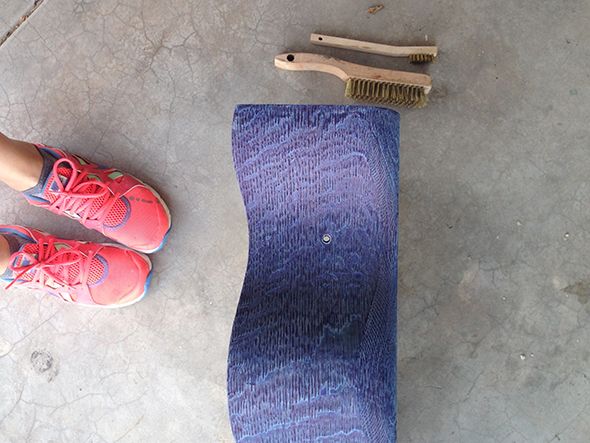
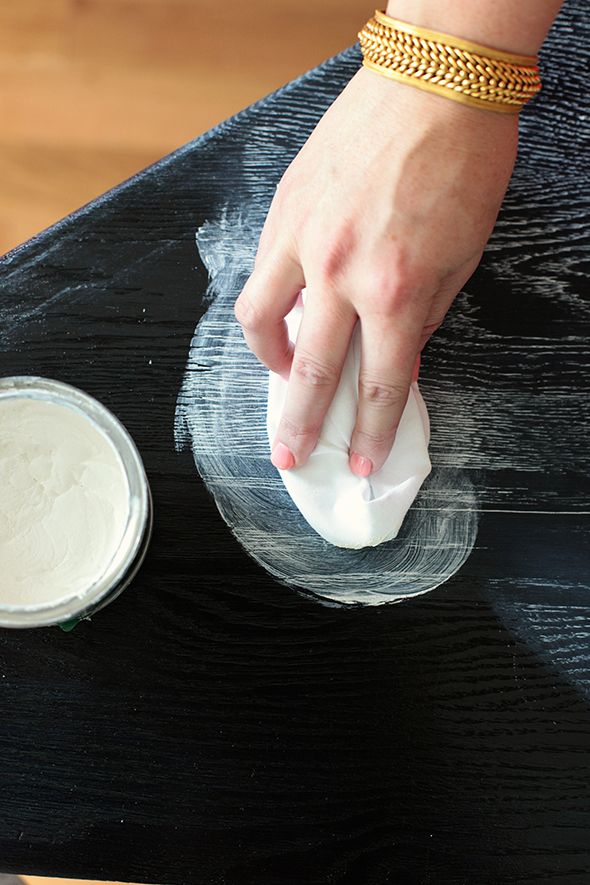
The actual liming step is super easy - you just wipe the wax on with a soft cloth and then buff off the extra that's sitting on top. You only want the white liming wax to be in the grain and none on top.
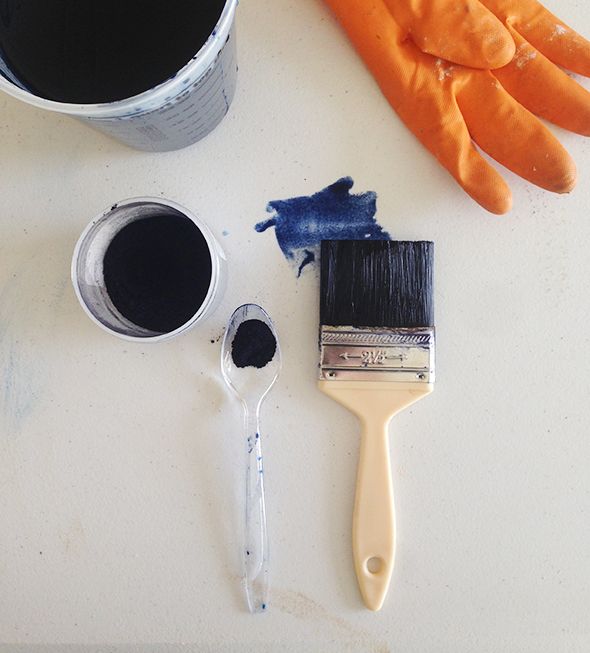
 photo Jenny 17.jpg

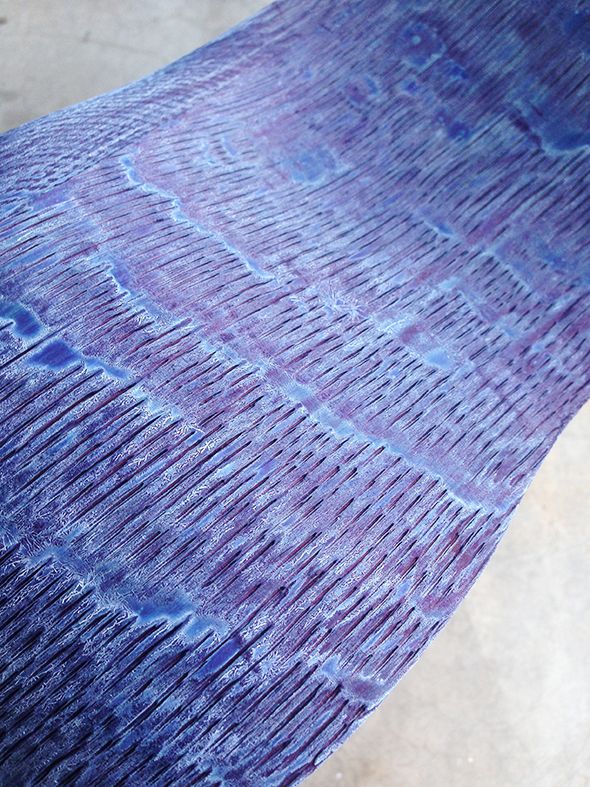
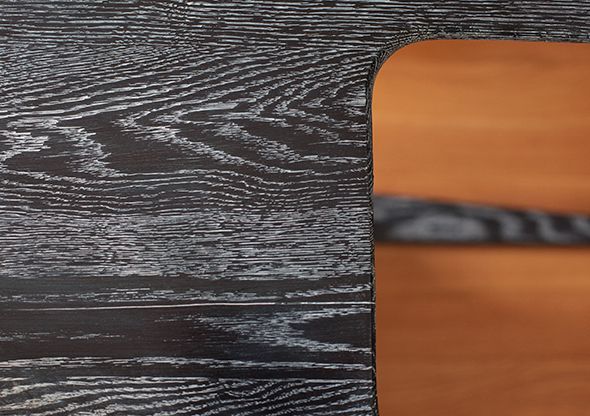
This is why it's important to shellac the wood before using the cerusing wax. The wax won't want to stay on the surface of the sealed wood as much, but it will be happy to hang out in the grain. Check out that beautiful pattern!

 photo Jenny 18.jpg

I really love how this project turned out. I think cerusing is such a fun way to show off the natural wood grain of vintage/antique oak pieces!

 photo Jenny 12 1.jpg

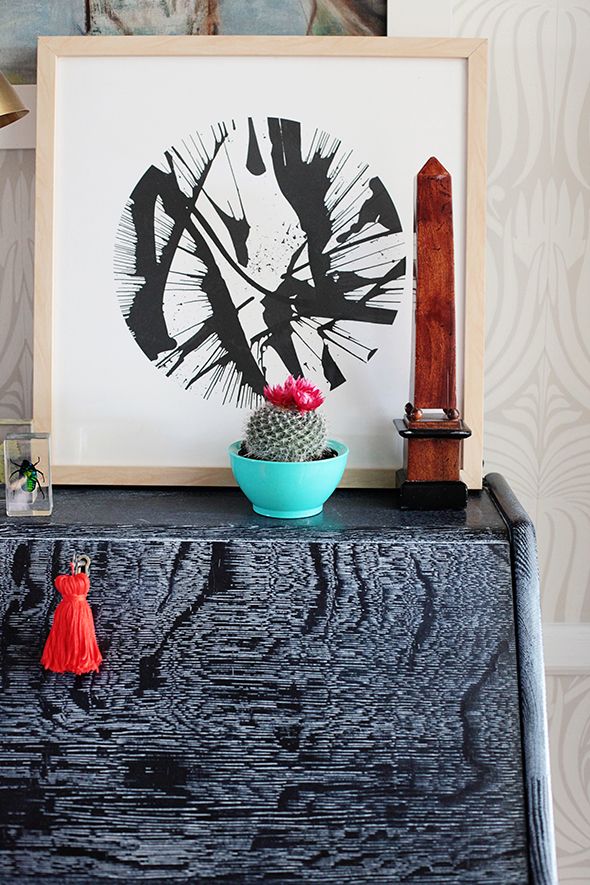
And the indigo stain is such a unique look too. I think color stains are perfect for this type of application. The secretary is such a fun statement piece now, sitting up in our landing by the girls rooms.

 photo IMG_1773.jpg

 photo Jenny 13.jpg

Don't forget to check out the spread in the new Domino! xo

Selasa, 08 September 2015

Sprucing Up with Newly Framed Art

New art is like the secret weapon of redecorating. It instantly makes a tired room feel fresh and exciting - like putting on a new necklace with an old dress! 

 photo IMG_1594.jpg

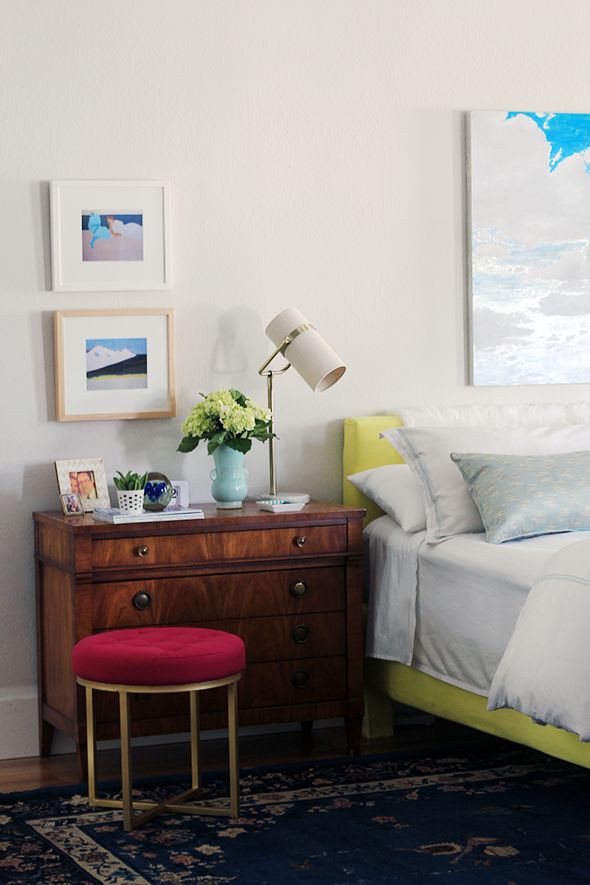
I've been wanting to make some changes to our bedroom and I had planned on buying a new bed, but the one I wanted to order was discontinued. Big time bummer. I might have my metal guy make something for us this winter but in the meantime, as a quick fix, we painted the walls and decided to take down the desert panels. I knew different art would make the space feel new. I wanted something a little punchy, but in a much smaller size.

 photo IMG_1436.jpg

This Milton Avery book is a great one - chock full of beautiful, full-color prints. I found a second copy recently at a used book store for only a few dollars and snatched it right up. I used an X-acto knife to carefully cut out the pages I liked the most for my bedroom.

 photo IMG_1691.jpg

 photo IMG_1694.jpg

I've used Framebridge before to affordably frame some of my favorite art prints. They also offer this really cool service where you can upload your instagram photos and they'll print and frame them for you and then ship them to you for free! I have done this for family gifts a few times now and it's becoming a go-to for me! They have beautiful, modern frame choices and I knew I wanted to use them again to frame these Avery prints.

 photo IMG_1676.jpg

If you're wanting to frame a piece you already have, Framebridge sends you pre-paid shipping supplies to send in your artwork. It couldn't be easier! I popped my prints in the mail and the framed artwork came back so quickly! Check these beauties out:

 photo IMG_1450.jpg

 photo IMG_1468.jpg

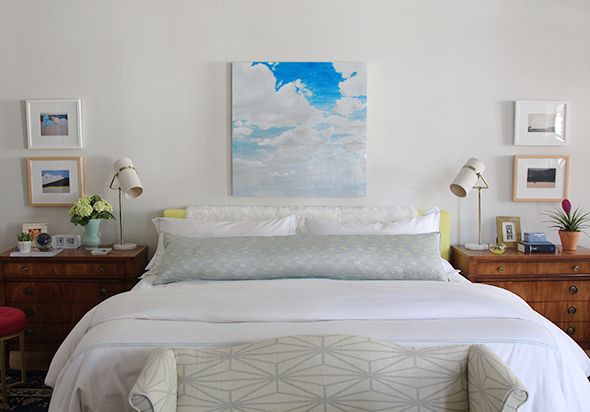
I stacked a white frame on top of a natural one on each side of the bed and hung my favorite cloud painting by Tara Andris in the middle. I love the combo! I used to have the painting hanging on the other side of room above the dresser, but we recently decided to put a TV in our room. (Not so sure how I feel about that development... but at least the art on this side of the room looks pretty!)

 photo IMG_1547.jpg

 photo IMG_1538.jpg

 photo IMG_1504.jpg

 photo IMG_1565.jpg

It's a fun change from what we had before, don't you think?

 photo IMG_1594.jpg

 photo IMG_1553.jpg

While I was getting the Avery prints framed, I decided to take care of two more pieces I've been wanting to frame for ages now. One of them was this cool piece I bought at the Chelsea Flea Market a few years ago. It's called 'If Not Sound, Then Music is Feeling' and Michael and I both really love that it looks like music notes.

 photo IMG_1696.jpg

 photo IMG_1627.jpg

 photo IMG_1658.jpg

I chose one of Framebridge's new frame styles called the Bolton, which is made from oiled steel and has these really cool rivet details.

 photo IMG_1649.jpg

 photo IMG_1673.jpg

And after I mailed the piece in, the Framebridge team emailed me to say they actually recommended no mat and a float mount to accentuate the uneven edges of the piece. I love their attention to detail!

 photo IMG_1639.jpg

 photo IMG_1693.jpg

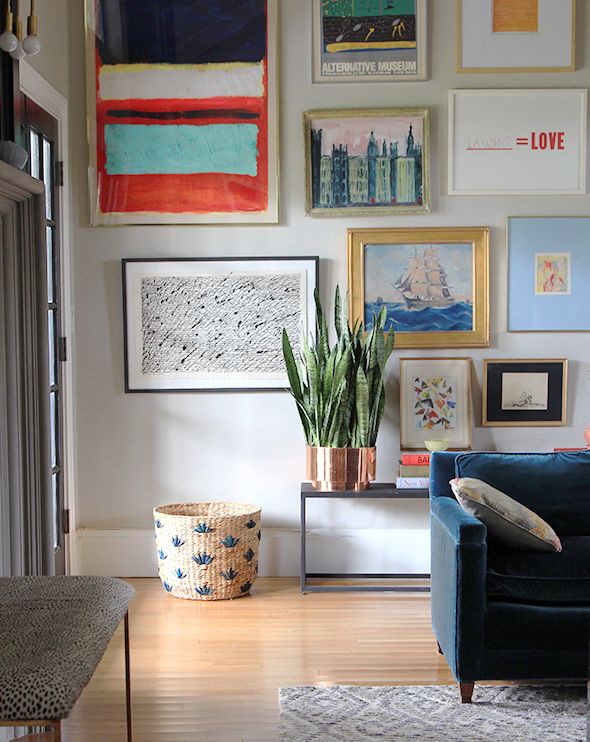
I think this frame is my new favorite - there's just nothing like it! The finish is gorgeous and combines SO well with all of the vintage and antique frames in my gallery wall!

 photo IMG_1672.jpg

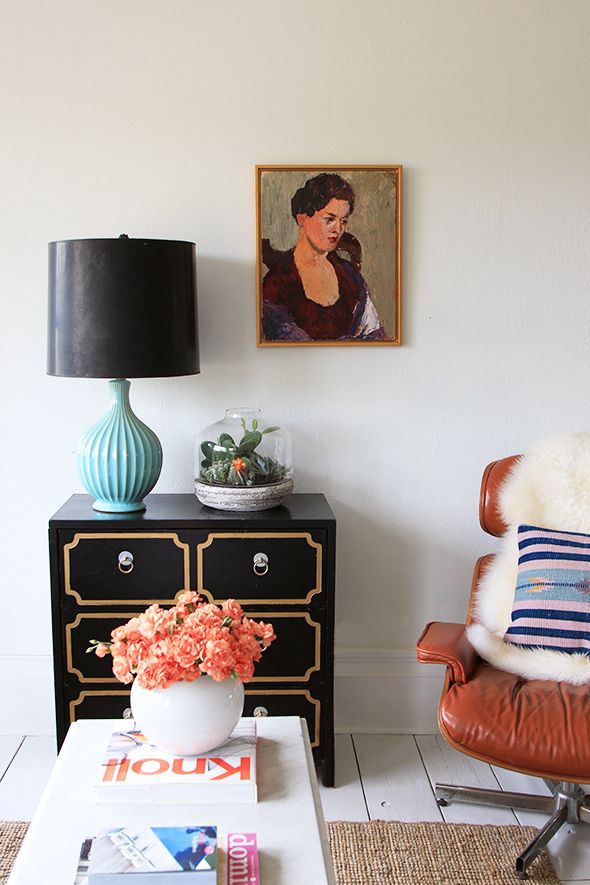
And since Framebridge also frames canvases, I sent in one of my favorite lady portraits. It kept getting knocked over where I had it on an easel and the edges were getting a little damaged.

 photo IMG_1684.jpg

 photo IMG_1690.jpg

It was a good time to get the portrait newly framed anyway because I've been planning to hang it up to the studio, which has been getting rearranged and redecorated, too, as our team grows. I don't know who the real woman in the painting is, but she's always reminded me of my Grandma Russell, who was a quiet hero in my life. Each time I look at this painting, I'm reminded that kindness is the most important thing. Such good energy for our office! :)

 photo IMG_1736.jpg

 photo IMG_1805.jpg

I love seeing her hanging up in our little sitting area, supervising our team meetings. :)

 photo IMG_1767.jpg

Isn't the floating frame beautiful?! The bright gold looks like a million bucks with the warm green tones in the background of the painting.

 photo IMG_1739.jpg

 photo IMG_1789.jpg

Having these newly framed pieces hanging in our home is like a big breath of fresh air! I'm so happy that these familiar artworks have finally gotten the love and attention they deserve. :)

A big thanks to Framebridge for partnering with us on this post! Take 20% off your first order of $59 or more with the code LITTLEGREENNOTEBOOK20 (code expires 11/30/2015).